Threecolumnblogger
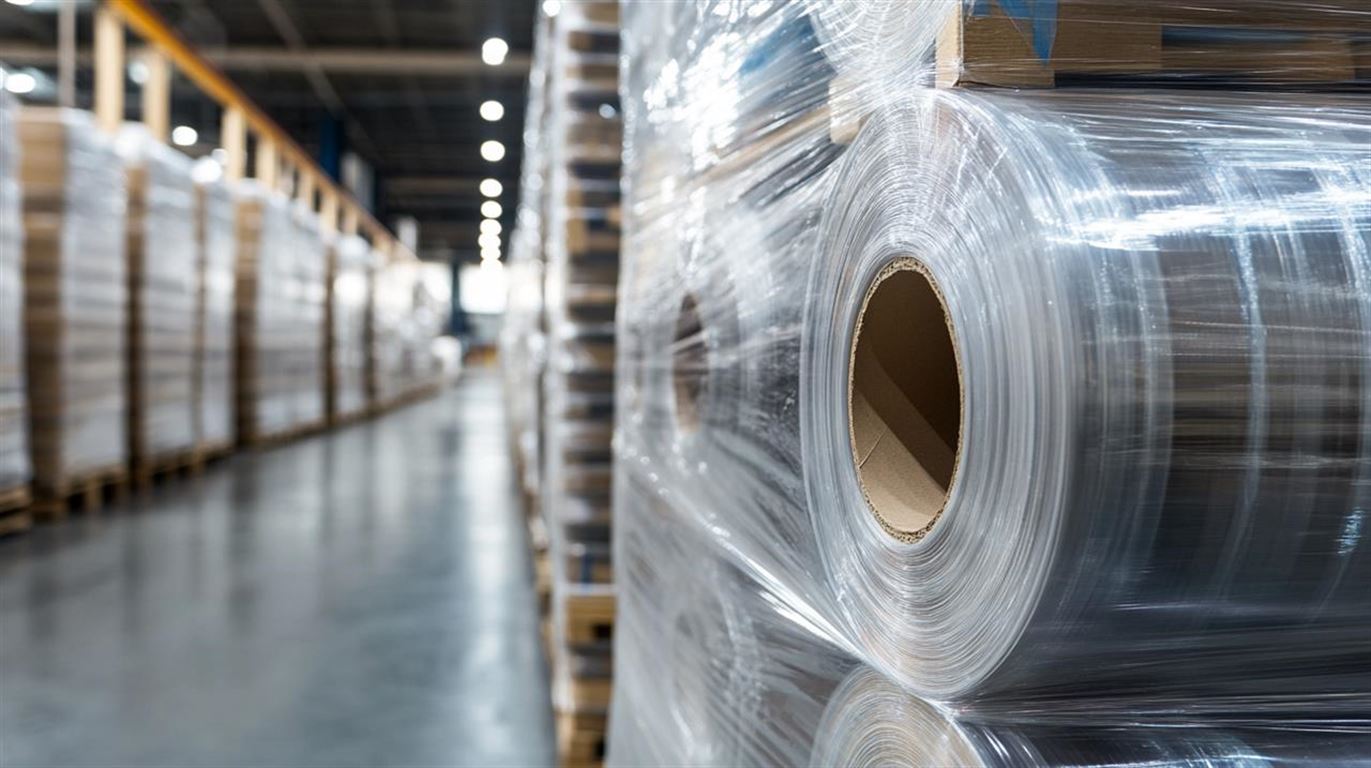
Sträckfilm - en djupgående guide
Sträckfilm är en oumbärlig förpackningslösning som används i en mängd olika industrier världen över. Den är känd för sin flexibilitet, elasticitet och styrka. I den här artikeln kommer vi att utforska
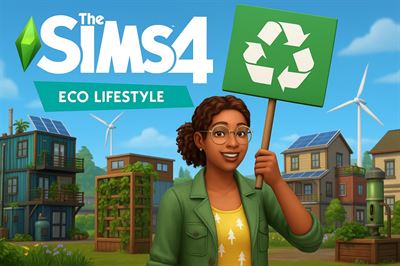
Embrace green living with the eco lifestyle sims 4 expansion
The Sims 4 continues to evolve with innovative gameplay and meaningful themes. One of the most impactful additions has been the Eco Lifestyle Sims 4 expansion , which puts sustainability and envi
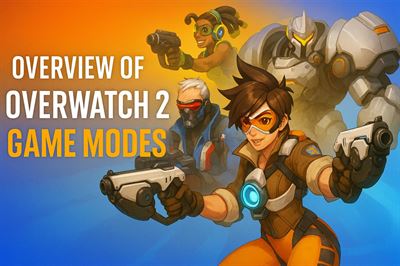
Overview of overwatch 2 game modes
Overwatch 2 is a dynamic team-based shooter developed by Blizzard Entertainment, offering a range of engaging and competitive game modes that cater to different playstyles and skill levels. Whethe
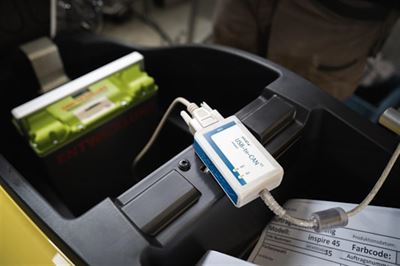
USB to Serial Adapter – Bridging Legacy Devices with Modern Technology
A USB to Serial Adapter is a compact device that enables communication between modern USB ports and devices that rely on serial connections, such as RS-232. These adapters are essential tools in envir